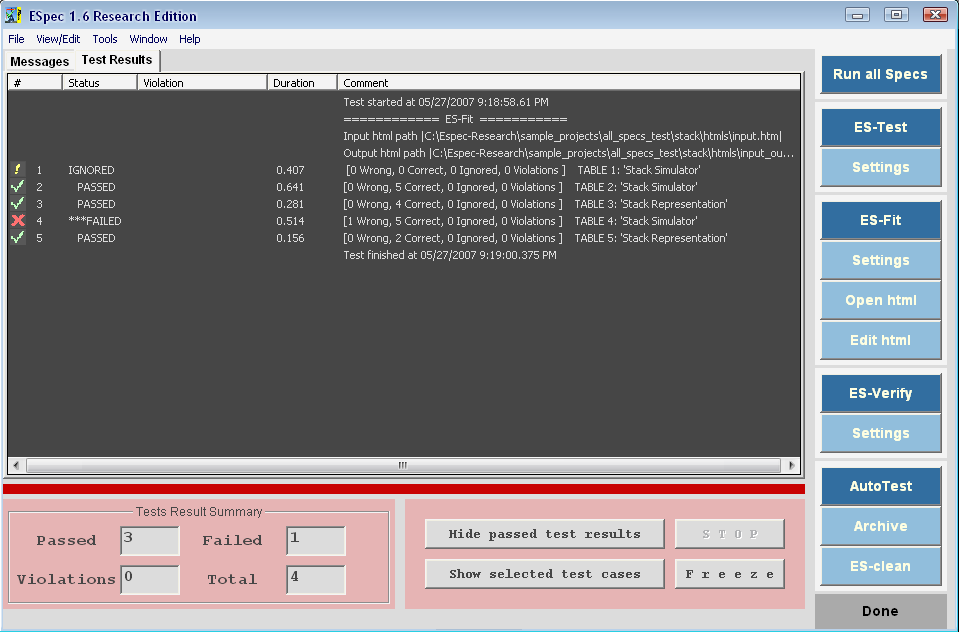
After setting up the initial settings, user can execute the Fit tables
(specified in the input path) by pressing the ``Run'' button in the ``ES-Fit
settings'' window or simply by pressing ``ES-Fit'' command button.
Similar to
ES-Test the ES-Fit results are displayed in the main ESpec window. Each table in
the HTML input document is treated as a single case. A table that does not have
any failure (all rows are passed) will be shown as a passed table (with green
checkmark in the first column). A failed table is a table that has at least one
failed row which is marked as red. Tables can be ignored (in case of a reference
table or tables with heading containing the word ``Ignore'') which will be shown
in yellow. A detailed report for each table is generated in the fifth column of
the display in the form of [ $p$ Wrong, $q$ Correct, $r$ Ignored, $s$ Violations
]. where $p$, $q$, $r$, and $s$ are the number of cells in the table which are
failed, passed, ignored or generated violations respectively.
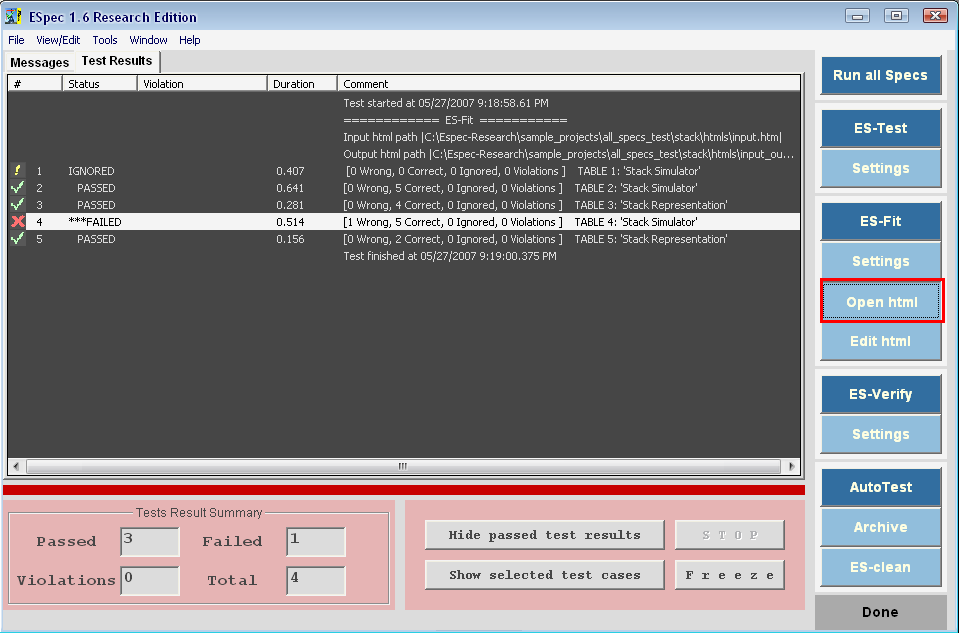
To see the generated HTML (the ES-Fit result) or the input HTML document, user can select the entry in the ESpec display corresponding to a Fit table, and press ``Open html'' command button.
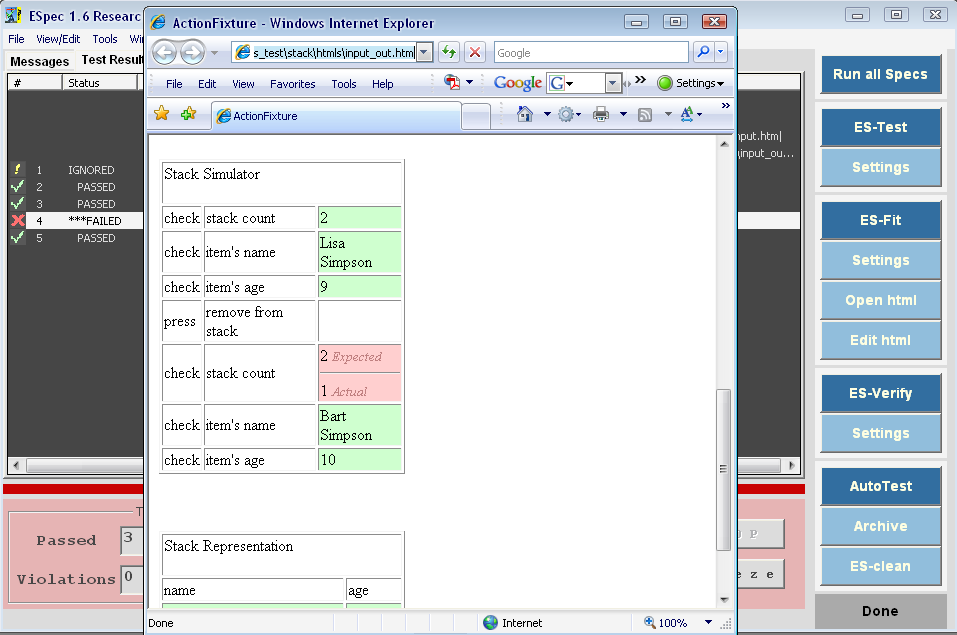
After pressing the ``Open html'' button, the selected Fit document will open in the browser (or ESpec's internal HTML editor---shown in the sequel).
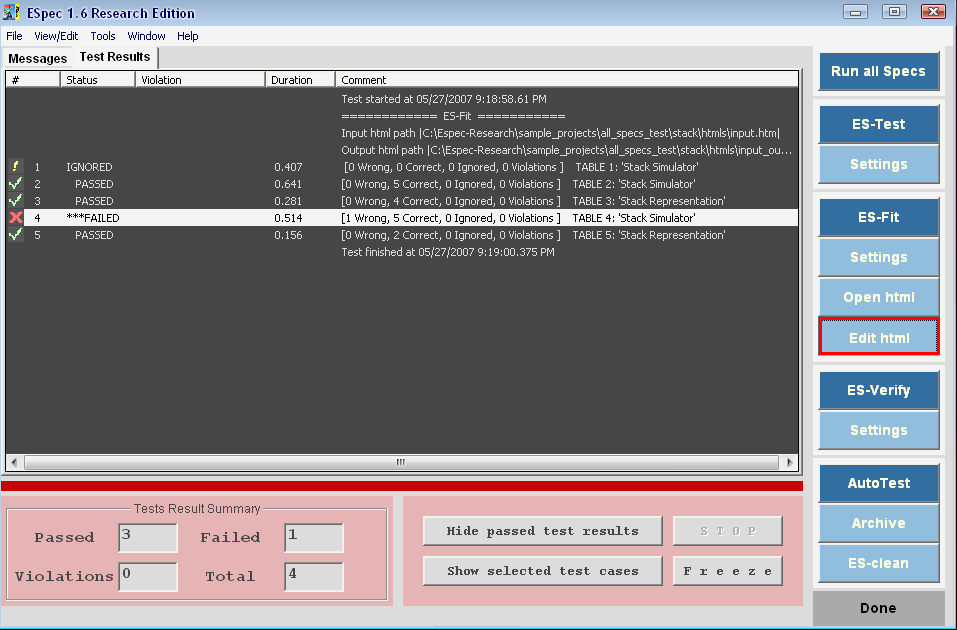
User can also directly edit the input HTML document from the ESpec tool by selecting the Fit table entry and pressing the ``Edit html'' button.
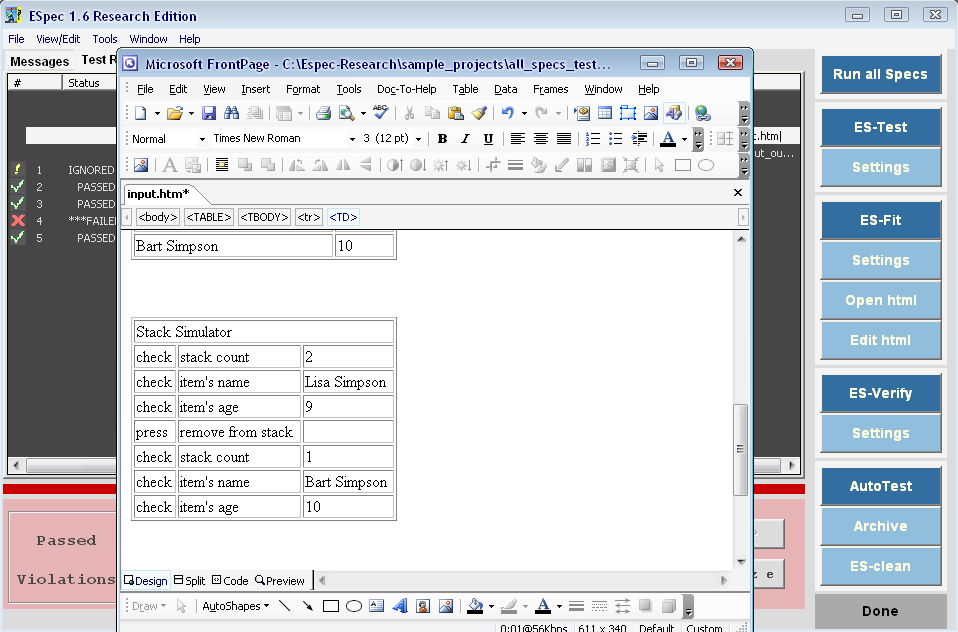
After pressing the ``Edit html'' button, the selected Fit document will open in the FrontPage (or ESpec's internal HTML editor---shown in the sequel).
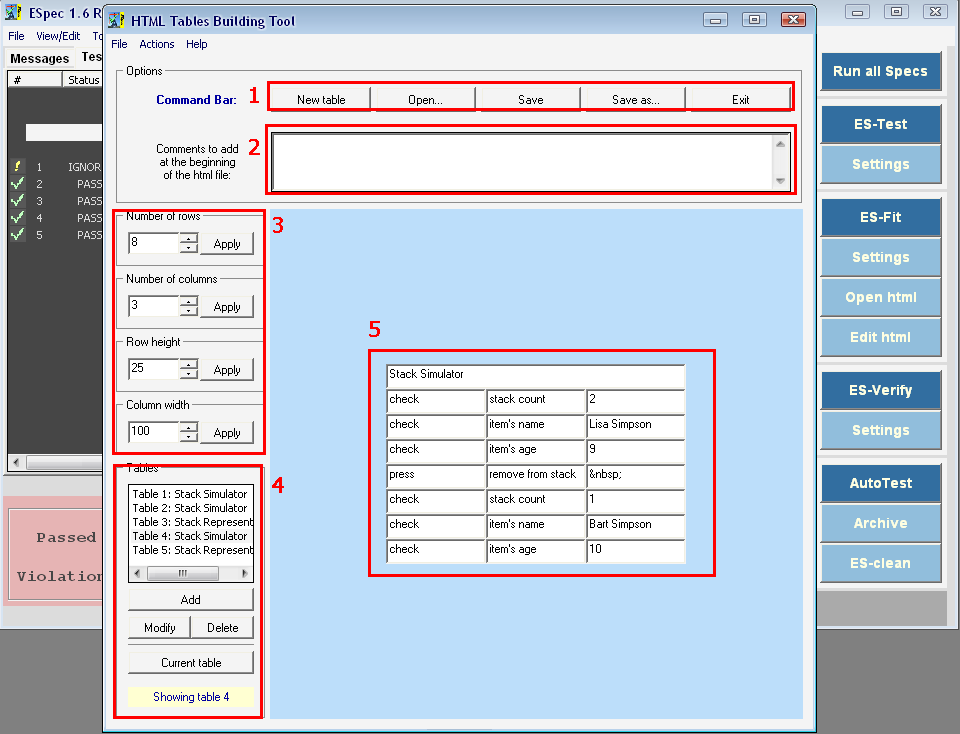
ESpec's internal HTML editor allows users to easily view or edit HTML Fit
tables. This editor will automatically open when the user has chosen it from the
ES-Fit advanced setting window.
(1) New Table: creates a new table in the
input HTML file, Open: opens an HTML input file containing multiple tables,
Save: saves the current HTML document. Save as: allows to save another copy of
the file with different name. Exit: exits the editor tool.
(2) This text
area is used to add comments in front of each table.
(3) Number of
rows/columns of a selected table can be modified here (width of each row/column
can also be modified).
(4) All tables in the opened HTML document are listed
here. To edit a table, select the title from the list and the table appears in
the display area. Any changes to the table have to be saved using the ``Modify''
button. To add a new table press ``Add'' and to remove a table select the title
from the list and press ``Delete''.
(5) Main display area to edit the
tables.